

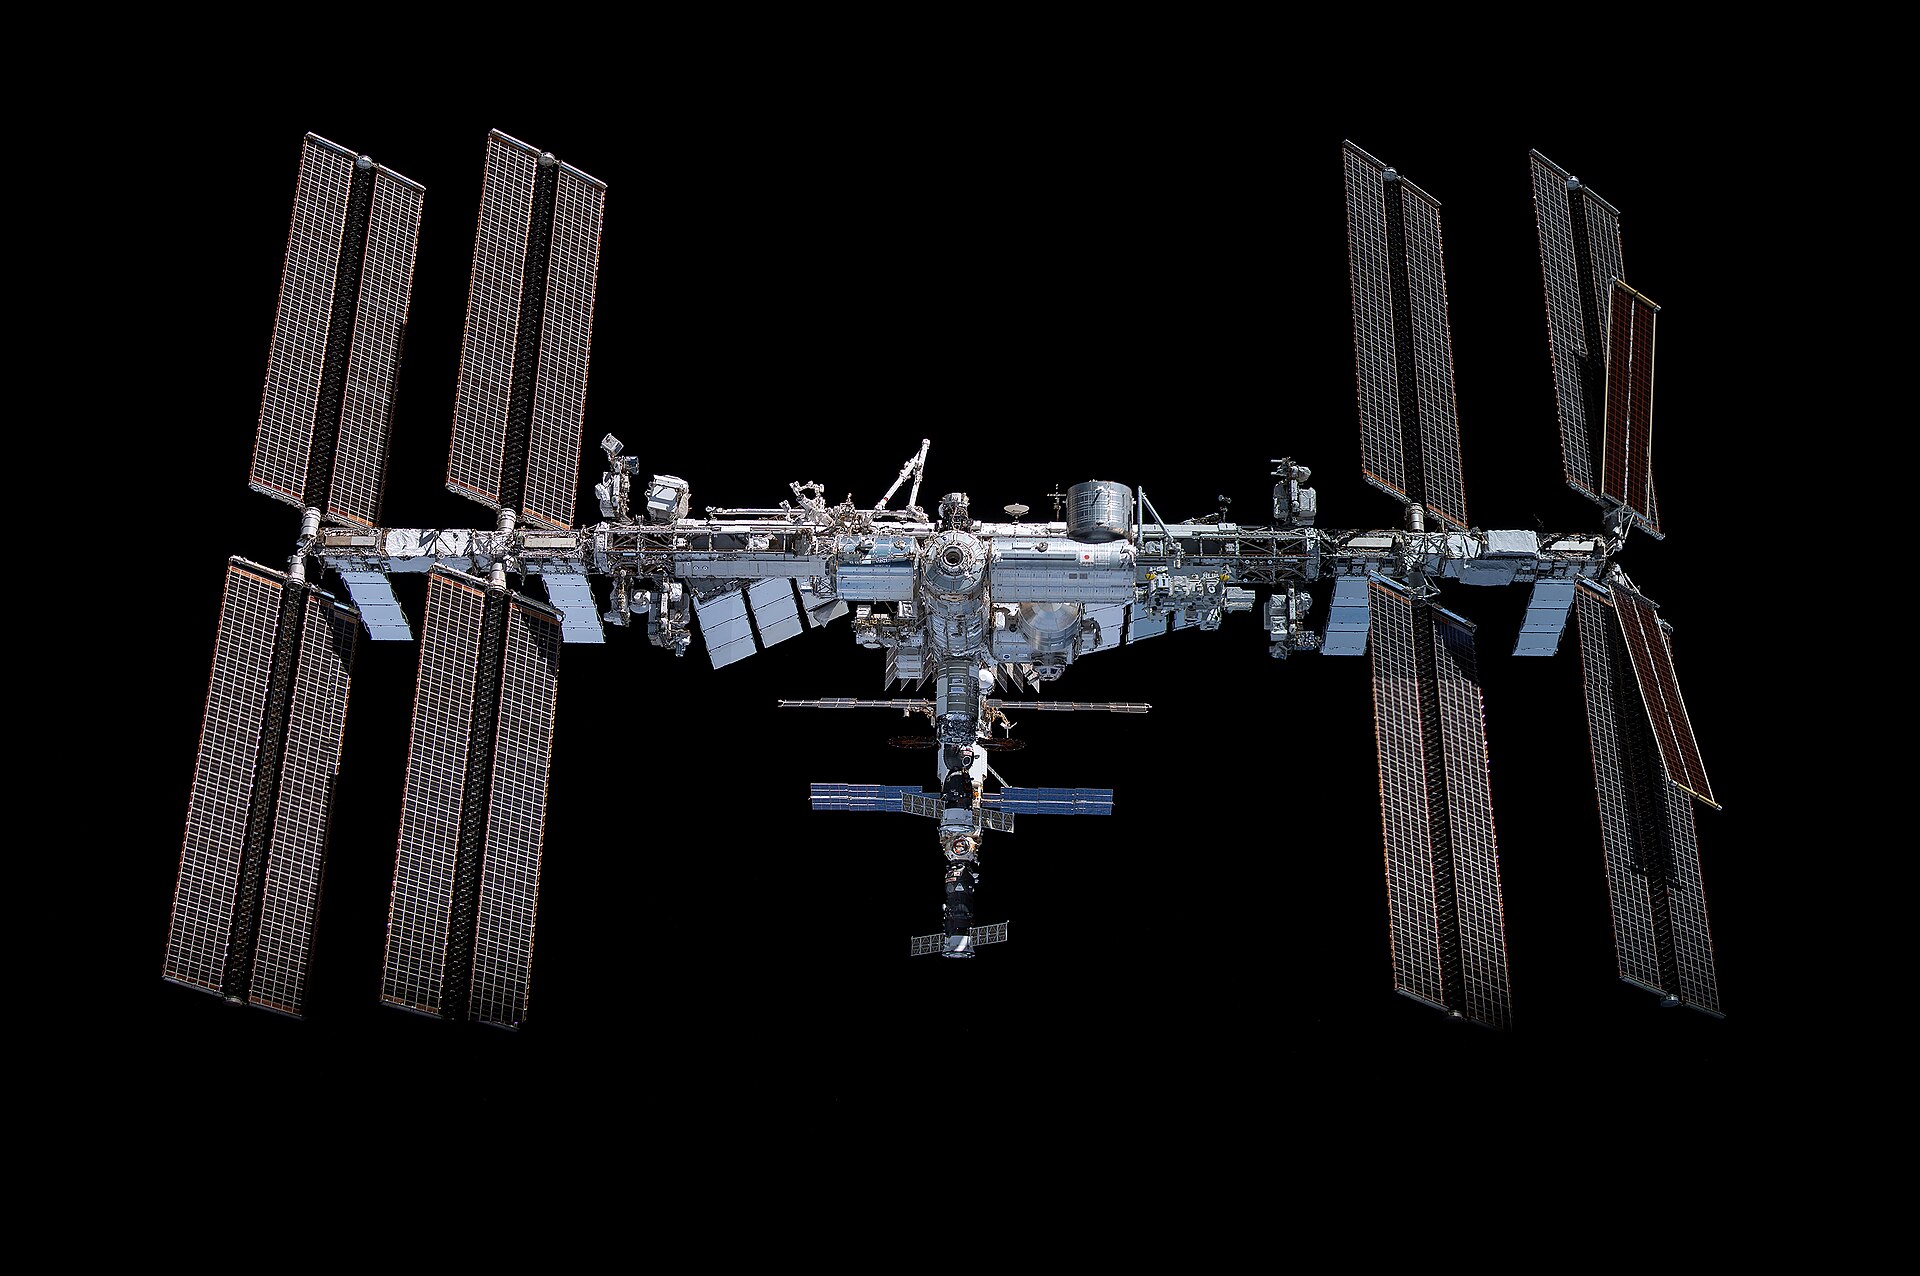
The International Space Station is the third-brightest object in the night sky during a good pass, easily outshining every star and rivaling Venus. You don’t need a telescope or a DSLR to capture it — a modern smartphone, a steady surface, and the right timing are enough to turn a 400-kilometer-high space lab into a striking streak of light across your photo.
Table of Contents
This guide covers exactly when to look, which free app to use for pass times, and the camera settings that actually work on a phone, plus the mistakes that ruin most first attempts.
Quick Answer
Set your phone on a tripod or stable surface, get a long exposure of 10–30 seconds (using Android’s Pro mode or an iPhone long-exposure app, since the stock iPhone Camera app has no manual shutter control), point the widest lens at the sky, and start shooting a minute or two before the ISS enters your view. Use NASA’s Spot the Station tool or a tracking app to know exactly when and where to look — the station is only visible for a few minutes right after sunset or before sunrise.
Step 1: Find Out When the ISS Will Pass Over You
The ISS orbits Earth at roughly 28,000 km/h (17,500 mph) about 400 km up, completing a full orbit every 90 minutes — but it’s only visible to the naked eye during a narrow window: a couple of hours around sunrise or sunset, when the station is still lit by sunlight but your sky is dark enough to see it. Outside that window it’s either in daylight (invisible against the sky) or in Earth’s shadow (dark).
NASA’s own site, Spot the Station (nasa.gov/spot-the-station), lets you enter your location and get exact pass times, direction, duration, and maximum elevation, plus optional text or email alerts for the best upcoming passes. Third-party tools like Heavens-Above and various ISS tracker apps work the same way and are worth cross-checking. Look for passes rated as “good” or with a maximum elevation above 40° — these are brighter, last longer, and are much easier to frame.
A typical visible pass lasts only 2 to 6 minutes, and higher passes overhead last longer and appear brighter than low ones near the horizon, so check the predicted path (e.g., “10° above WNW to 62° above NE”) and pick a spot with a clear, unobstructed view in that direction.
Step 2: Set Up Your Phone for the Shot
Stability is everything for a multi-second exposure, so put your phone on a tripod, phone mount, or simply prop it against something solid — handheld shots will blur. Turn off flash and, if your phone has one, use a 2–3 second self-timer or a Bluetooth/volume-button remote so pressing the shutter doesn’t shake the frame.
On Android, many phones (Samsung, Pixel, and other flagships) include a built-in Pro or Expert camera mode with manual shutter speed, ISO, and focus — set the shutter as slow as it allows (around 10 to 30 seconds), keep ISO moderate to limit grain, and switch focus to manual, set to infinity, since autofocus struggles and often fails in the dark. On iPhone, the stock Camera app has no manual shutter or ISO control at all, so you’ll need a third-party app for a true long exposure — NightCap Camera is a popular choice because it has a dedicated ISS mode built specifically for photographing satellite passes, alongside full manual control of exposure, ISO, and focus; Slow Shutter Cam and Camera+ are other options that support exposures up to around 30 seconds.
If you’d rather not install anything, your phone’s built-in Night Mode (iPhone or Android) is the fallback option; it automatically extends exposure time to gather more light, though it won’t give you as clean or as long a streak as true manual long exposure. Either way, frame wide: use your widest-angle lens (avoid zoom, which is usually a lower-quality digital crop on phones) and point the camera at the section of sky where the pass will be brightest and highest, ideally including some horizon or landmark for scale and context.
Tips and Common Mistakes
Get outside 10–15 minutes early to let your eyes adjust, find a dark-sky spot away from streetlights, and take a few test shots of stars to confirm your focus and exposure look right before the pass actually starts. A clear night is non-negotiable — even thin cloud will hide the station, so check a weather app beforehand.
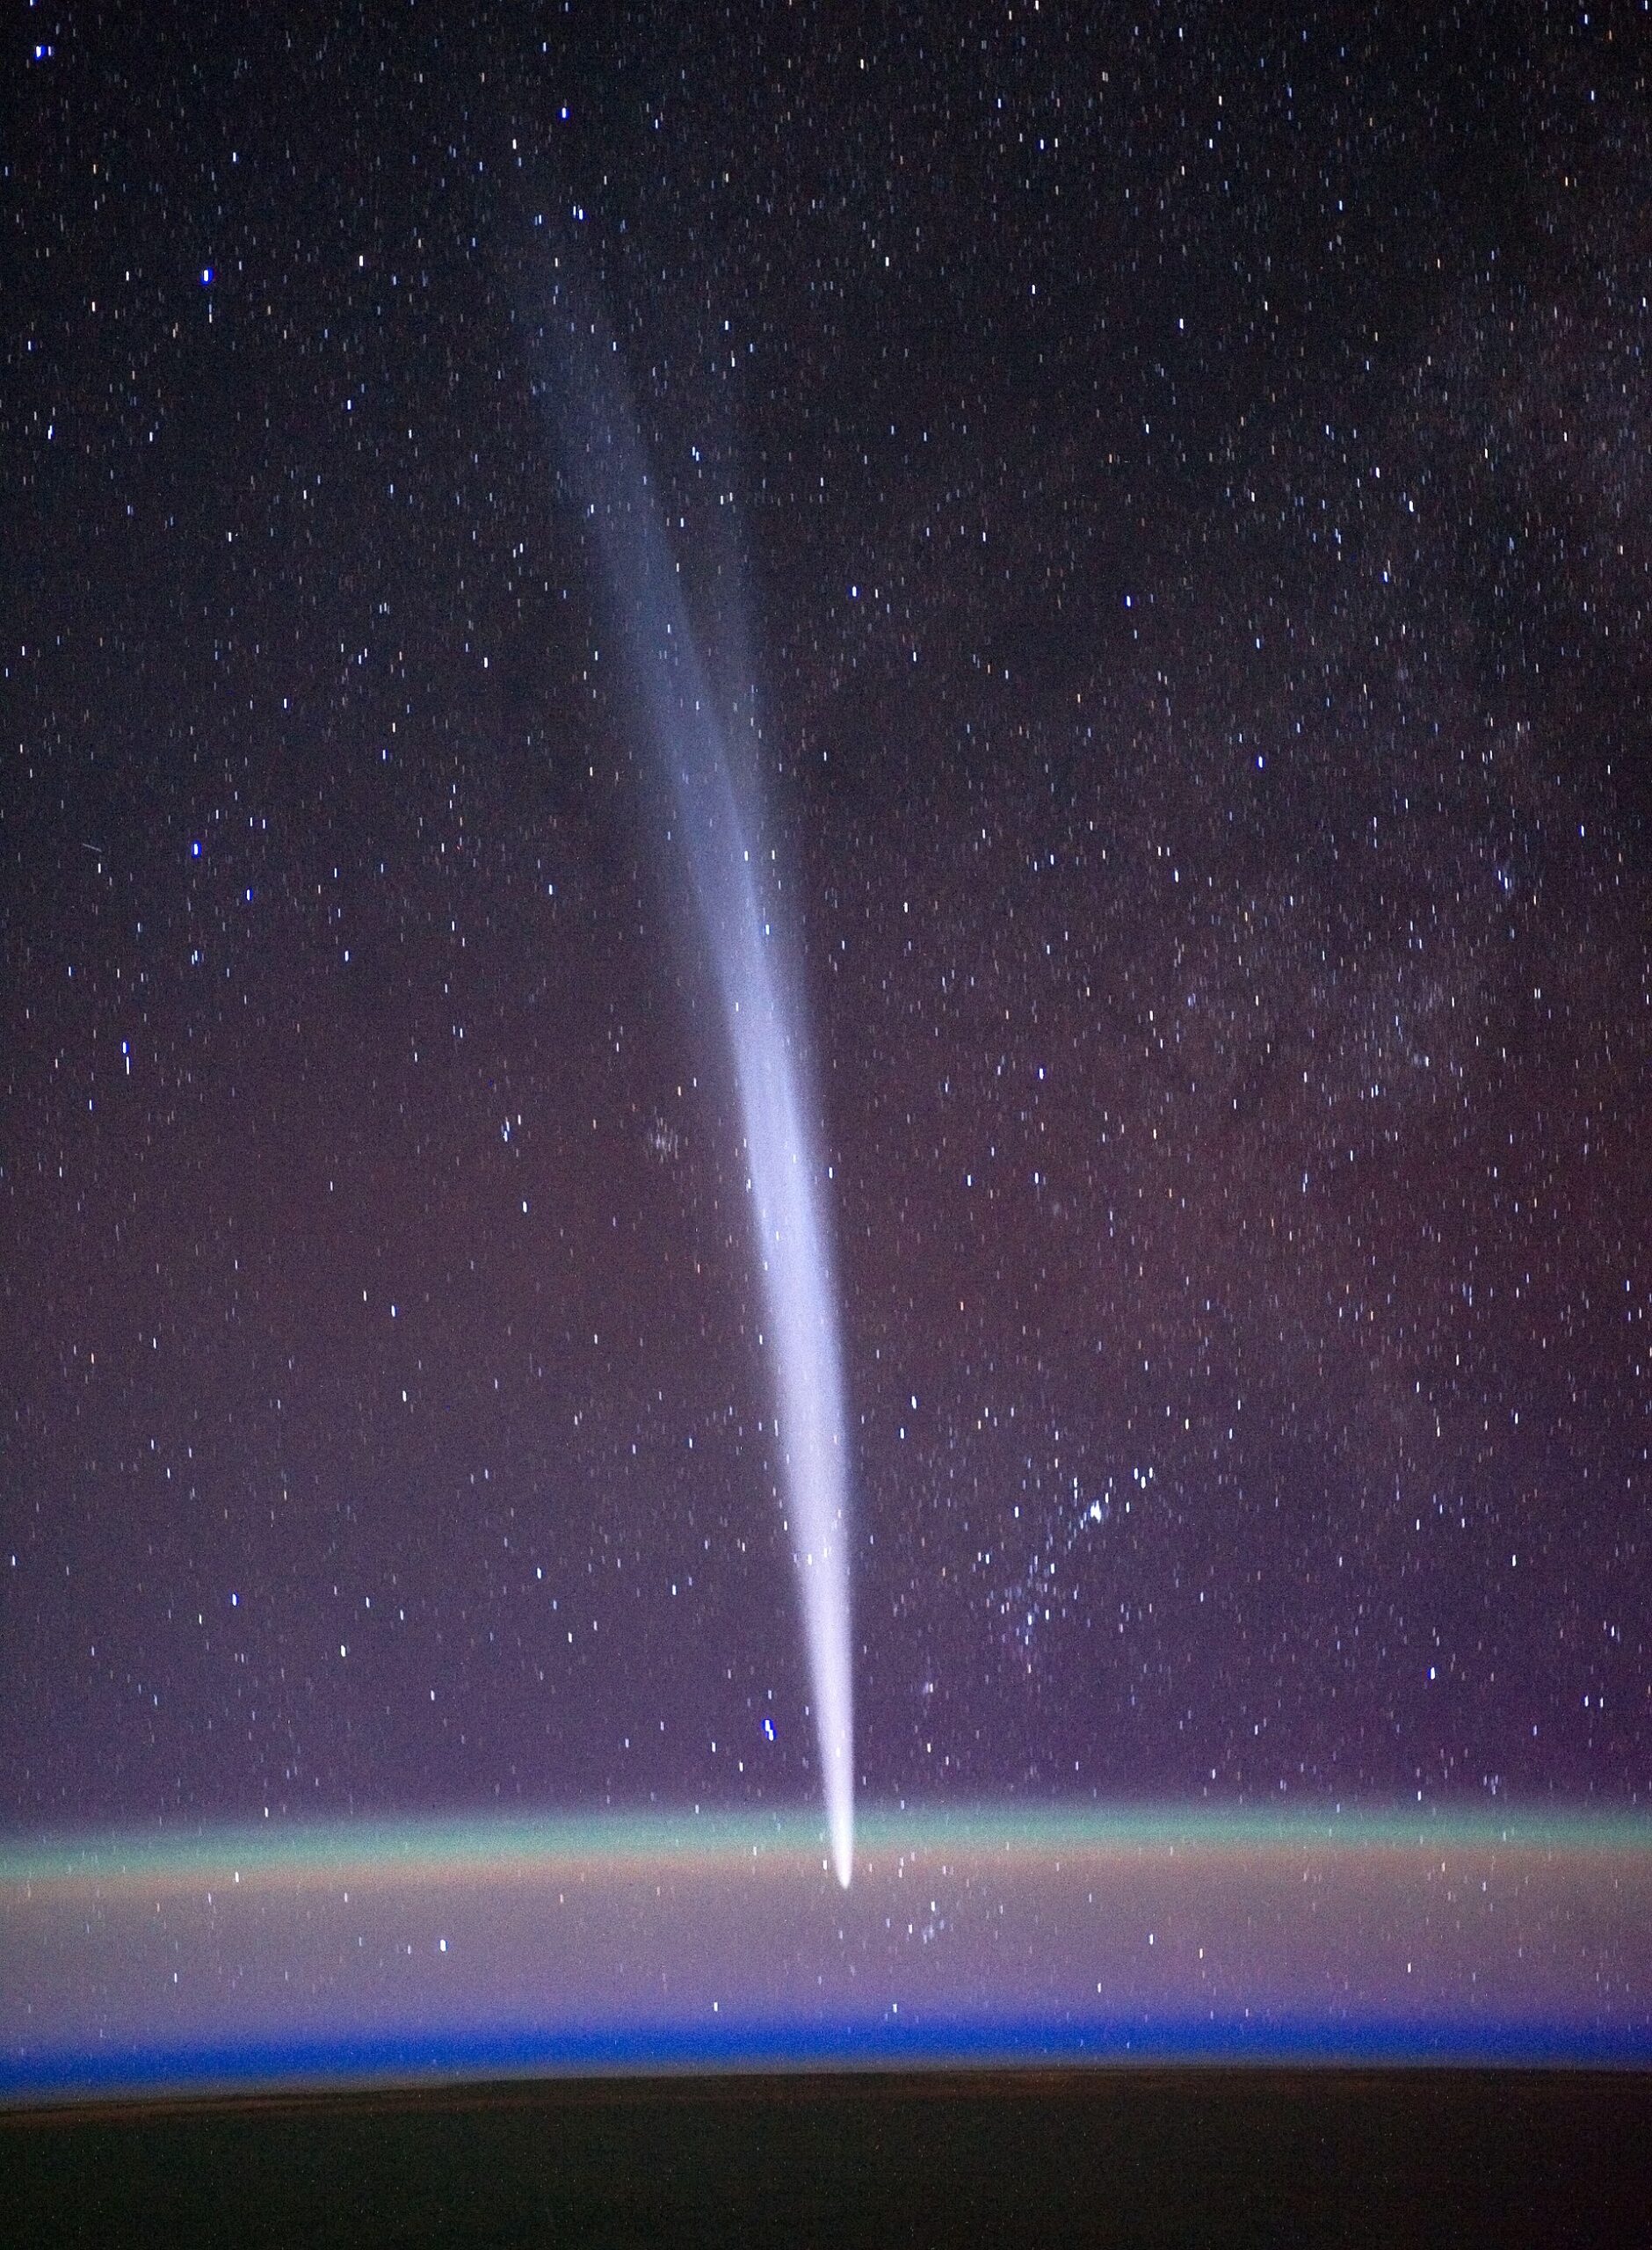
The most common mistakes are: using zoom instead of the widest lens, leaving autofocus on (it will hunt and miss in low light), forgetting to check the exact direction of the pass so the ISS never enters frame, and using a shutter speed so fast it only catches a faint dot instead of a streak. If you’re using a true long exposure (10–30 seconds), the ISS will render as a smooth, continuous line across the stars — that’s the signature “got it” shot.
For an even better result, some photographers stack several consecutive long exposures in free editing software to build one continuous trail without any single exposure overexposing the sky — but a single well-timed 15–20 second shot is more than enough for a great phone photo.
Explore more: More space guides.
Photographing the ISS with a phone FAQs
Can you actually see the ISS with the naked eye?
Yes. During a good pass it’s brighter than any star and can rival Venus, moving steadily across the sky like a fast-moving plane but without blinking lights or sound.
What’s the best time of day to photograph the ISS?
Within a couple of hours after sunset or before sunrise, when the station is still sunlit but your local sky is dark — check exact pass times with NASA’s Spot the Station tool.
Does the iPhone’s Camera app have a manual mode for this?
No — the stock iPhone Camera app doesn’t offer manual shutter speed or ISO control. For a true long exposure you need a third-party app such as NightCap Camera (which has a built-in ISS mode), Slow Shutter Cam, or Camera+. Android phones more often include a native Pro/Expert mode with those manual controls.
Do I need a tripod?
For anything beyond a quick Night Mode snapshot, yes. Long exposures of several seconds require a completely stable phone, so a tripod, mount, or improvised stand is strongly recommended.
Why didn’t the ISS show up in my photo?
The most common causes are pointing at the wrong part of the sky (double-check the pass direction), using a fast shutter speed that’s too brief to register the faint trail, or clouds blocking the view.
Make Your Digital Life Better
More practical tech how-tos, tool picks, and guides to upgrade your everyday digital life. More on GTWebs.
Photo: NASA / Public domain, via Wikimedia Commons.