

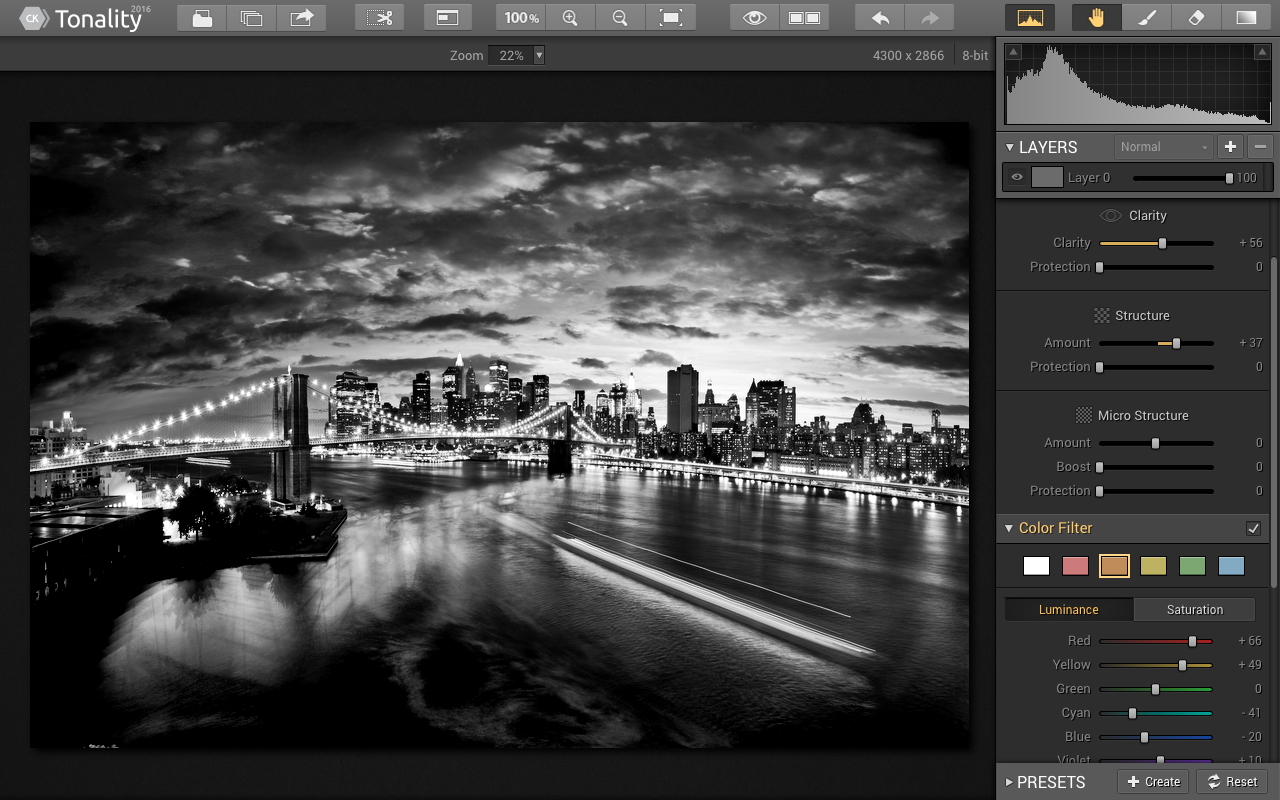
Photoshop is powerful, but it’s overkill if you just need to remove a background, brighten a product shot, or clean up a distraction before posting to social media. Canva’s built-in photo editor and Magic Studio AI tools handle most everyday edits in a browser tab, no design degree or subscription to expensive software required.
Table of Contents
This guide walks through exactly how to enhance a photo in Canva step by step, which tools are free versus Canva Pro-only, and the mistakes that make AI-edited photos look obviously edited.
Quick Answer
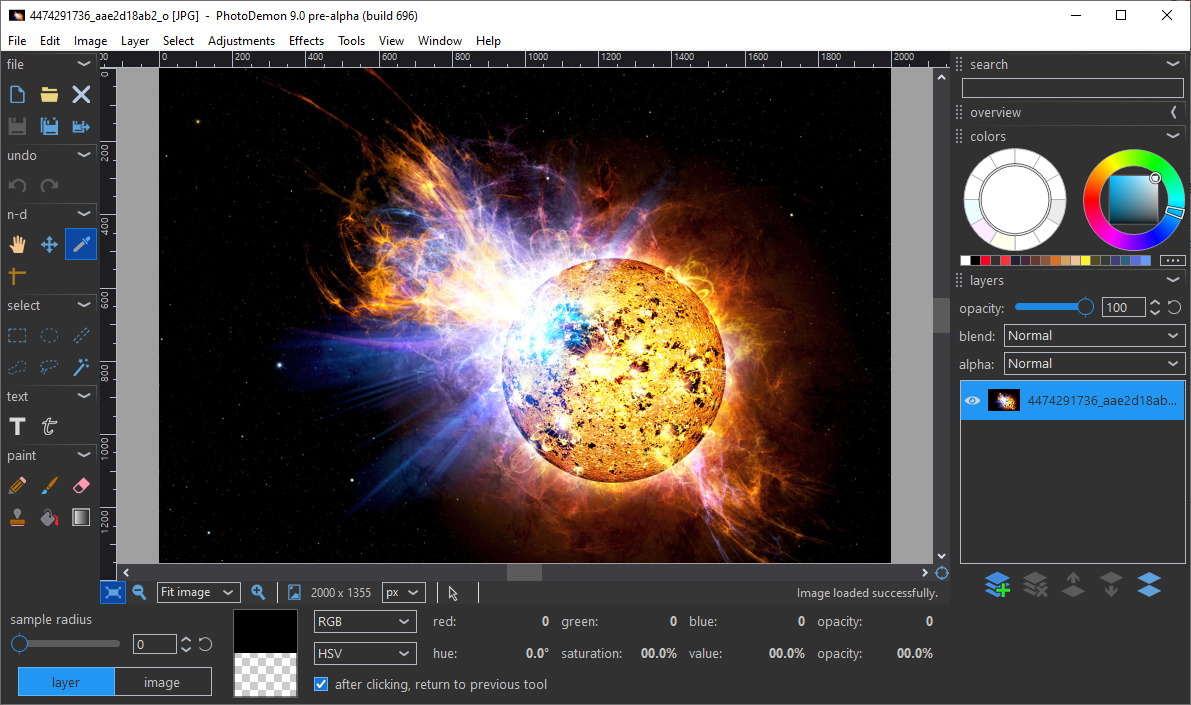
Upload your photo to Canva, double-click it to open the photo editor, then use the Effects tab for one-click filters, the Adjust panel for color and lighting sliders, and Magic Studio tools (Background Remover, Magic Eraser, Magic Edit, Magic Expand) for AI-powered fixes like removing objects or swapping backgrounds. Most basic edits are free; the Magic Studio AI tools have limited free monthly credits and unlock further with Canva Pro.
How to Edit a Photo in Canva, Step by Step
Start a new design or open an existing one, then upload your image via the Uploads tab (drag-and-drop works too). Click the photo on the canvas to select it, and the Photo Editor toolbar appears above the canvas with options for Effects, Adjust, Crop, Flip, and more.
For background work, select the image and choose BG Remover from the toolbar to strip the background in a few seconds—useful for product photos, headshots, or layering an object onto a new scene. If the cutout misses an edge or removes part of your subject, use the Pixel Eraser’s erase and restore brushes to clean it up manually.
To fix lighting, color casts, or a washed-out shot, open the Adjust panel and use the sliders for brightness, contrast, saturation, and white balance. You can also click directly on the foreground or background of a photo to edit them independently, which is handy for correcting a dark subject against a bright sky.
For distractions—a stray object, a photobomber, a power line—use Magic Eraser: select the tool, brush over the area you want gone, and Canva fills it in automatically. If you’d rather add or replace something (turn a cloudy sky into a sunset, add an object into the scene), Magic Edit lets you describe the change in a text prompt and generates the result in place.
If your photo is awkwardly cropped, was shot too zoomed-in, or you need to change its orientation, Magic Expand extends the canvas beyond the original frame and generates matching content to fill it—useful for turning a vertical photo into a horizontal banner without cropping out the subject.
Finish with the Effects tab for one-click filters and stylistic looks, then download via Share > Download, choosing PNG for transparency (after background removal) or JPG for smaller file sizes.
Which Canva Photo Tools Are Free vs. Pro
Canva’s core photo editor—crop, resize, rotate, filters, and the adjustment sliders—is free on any Canva account. The AI-powered Magic Studio tools are where the free plan gets limited: Background Remover and Magic Eraser are primarily Pro, Teams, and Education features, though Canva periodically offers a small number of free monthly uses on the free plan. Magic Edit and Magic Expand also draw from a shared monthly AI credit pool that’s more generous on Pro.
If your work regularly depends on background removal, object erasing, or AI expansion, a Pro subscription (billed monthly or annually, with Canva often running promotional discounts for new users) will remove the friction of hitting free-tier limits mid-project.
Tips and Common Mistakes
Work on a duplicate of your original upload before making destructive edits like Magic Eraser or Background Remover, so you can always start over if the AI result looks off. Zoom in after using Magic Eraser or Magic Edit—AI fill can leave subtle blurring or repeated textures at the edges that are easy to miss at normal zoom.
Don’t stack too many Magic Studio edits on the same image in one pass; erase, check the result, then move to the next tool rather than layering multiple AI generations, which compounds artifacts. When removing a background for a transparent PNG, check the edges around hair, fur, or fine detail closely and touch up with the Pixel Eraser’s restore brush rather than assuming the automatic cutout is perfect.
For product or headshot photography, adjust white balance before color/saturation—fixing the color temperature first makes every adjustment after it more accurate.
Explore more: Explore more design guides.
Canva photo editing FAQs
Is Canva’s photo editor free to use?
Yes, the core photo editor—cropping, filters, and color/lighting adjustments—is free on any Canva account. AI Magic Studio tools like Background Remover and Magic Eraser have limited free monthly use and are more fully unlocked with Canva Pro.
Can Canva fully replace Photoshop?
For quick, common edits—background removal, object erasing, color correction, resizing, filters—Canva covers most everyday needs. For advanced pixel-level retouching, layered compositing, or precise selection work, Photoshop still offers more depth and control.
What file formats can I export edited photos in from Canva?
Canva supports exporting to PNG (including transparent backgrounds after background removal), JPG, PDF, and other formats via the Share > Download menu, with adjustable quality and size settings depending on your plan.
Make Your Digital Life Better
More practical tech how-tos, tool picks, and guides to upgrade your everyday digital life. More on GTWebs.
Photo: IrinaSkvo / CC BY-SA 4.0, via Wikimedia Commons.