

Posting consistently on social media is one of those tasks that quietly eats a solopreneur’s week — a few minutes here to write a caption, a few more to find an image, then the scramble to remember you never actually hit publish. Scheduling and automation fix that by letting you batch the work once and let it run in the background.
Table of Contents
This guide walks through how to pick a scheduling tool, set up a workflow that doesn’t require daily babysitting, and avoid the mistakes that make automated posting feel robotic or get accounts flagged.

Quick Answer
Pick one scheduling tool that covers your main platforms (Buffer and Later are solid, affordable options for solo users; Meta Business Suite is free for Facebook and Instagram), batch-write a week or two of posts in one sitting, load them into the queue with set posting times, then review analytics weekly to adjust what’s working.
Choosing a Scheduling Tool
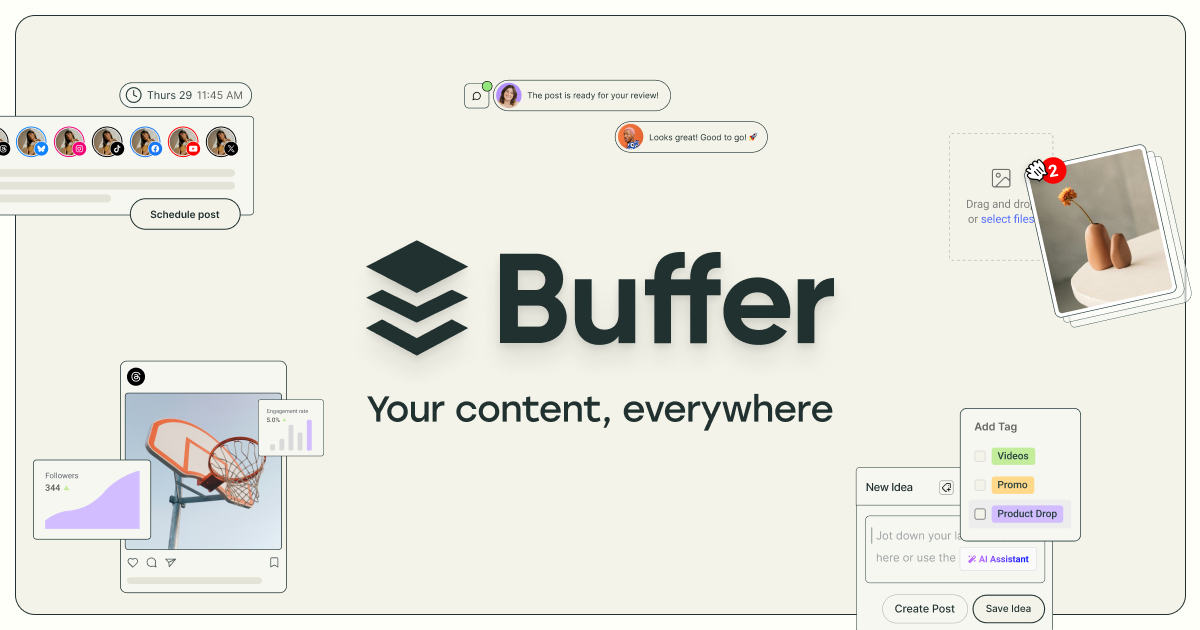
For a single person managing a handful of accounts, you generally don’t need an enterprise platform. Buffer’s Essentials plan runs around $5 per month per connected channel (billed yearly), with unlimited scheduled posts, basic analytics, and an AI assistant for drafting captions. Its free plan covers up to 3 channels with 10 scheduled posts per channel, which is enough to try before committing.
Later starts around $18.75 a month (billed annually) for one social set of up to 8 profiles, and leans more visual — it’s built around a drag-and-drop content calendar, which suits Instagram- and Pinterest-heavy businesses.
If you only post to Facebook and Instagram, Meta Business Suite is free and lets you schedule posts and Stories directly from business.facebook.com. Facebook Page posts can be scheduled between 20 minutes and 29 days ahead, per Meta’s own Help Center, so it works well for near-term batching but not for planning a whole quarter out. It’s a reasonable starting point before paying for a third-party tool, though it won’t cover LinkedIn, X, TikTok, or Pinterest.
Whichever tool you pick, check three things before subscribing: which platforms it actually supports posting to (not just analytics), whether pricing is per-channel or per-user (per-channel adds up fast if you run several accounts), and whether it includes a content calendar view so you can see gaps at a glance.
Building a Repeatable Workflow
Set a single recurring block — weekly or biweekly — to write and load posts in batches instead of composing them the day-of. Batching keeps you in one mode of thinking (writing captions) instead of constantly switching between content creation and daily admin.
Draft captions and gather images first in a simple doc or the tool’s idea bank, then move to scheduling only once you have a stack ready. Most tools let you set default posting time slots per platform, so once you queue a post it automatically drops into the next open slot without you picking an exact time each time.
Reuse and adapt evergreen content — tips, FAQs, testimonials, behind-the-scenes shots — rather than trying to invent something new every single day. A scheduling tool’s content calendar makes it easy to see this content spread out and repeated a few weeks apart instead of clustered together.
Set a recurring 15-minute check-in, separate from your writing session, to reply to comments and DMs. Automation should handle publishing, not the conversation that follows — engagement still needs a human.

Tips and Common Mistakes
Don’t schedule months of content and walk away entirely — plans change, current events shift context, and a post that looked fine three weeks ago can land badly today. Do a quick weekly scan of what’s queued, and remember that Facebook Page scheduling only reaches about a month out, so you’ll need to refresh the queue more often than you might expect.
Avoid posting identical captions across every platform. A LinkedIn audience and a TikTok audience expect different tones; most scheduling tools let you customize the caption per platform from the same base post.
Watch native platform limits — Meta requires Facebook Page posts to be scheduled at least 20 minutes in the future and no more than 29 days out, and third-party tools inherit similar platform-imposed limits.
Check analytics inside your scheduling tool at least monthly, not just after every post, so you’re adjusting posting times and content types based on a real pattern rather than one lucky or unlucky post.
Explore more: more small business growth guides.
Social media scheduling for solopreneurs FAQs
Is it worth paying for a scheduling tool as a solopreneur, or should I just use free ones?
If you only post to Facebook and Instagram, Meta Business Suite’s free scheduler covers you. Once you add other platforms like LinkedIn, X, or TikTok, a paid tool like Buffer becomes worth it since it consolidates everything into one queue and calendar.
How far in advance should I schedule social media posts?
One to two weeks of batched content is a practical sweet spot — enough to get ahead of the daily grind without scheduling so far out that posts go stale or miss timely opportunities. Note that Facebook Page posts specifically can only be scheduled up to 29 days ahead through Meta’s own tools.
Will scheduling posts instead of posting live hurt my reach?
No — platforms generally treat scheduled posts the same as posts published manually at that time, since scheduling tools use the platform’s own publishing APIs. What affects reach is engagement and consistency, not whether the post was typed live or queued in advance.
Make Your Digital Life Better
More practical tech how-tos, tool picks, and guides to upgrade your everyday digital life. More on GTWebs.
Want web tips in your inbox? Subscribe to the free newsletter.
Images: Buffer: All-you-need social media toolkit for small businesses.