

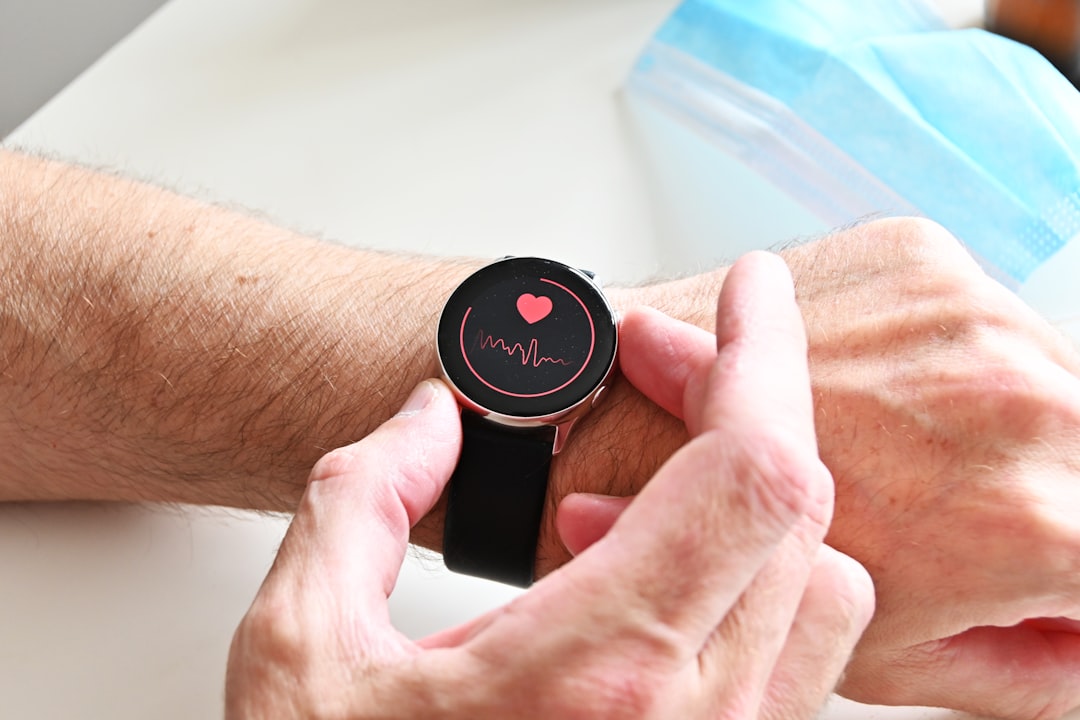
If you’ve ever finished an “easy” run breathing hard, you weren’t in Zone 2 — you were probably in Zone 3, the gray zone that builds fatigue without building much aerobic fitness. Zone 2 training means holding a low, steady heart rate for a sustained period, and a heart rate monitor is the tool that keeps you honest, because your sense of “easy” is a much worse judge of effort than your heart rate is.
Table of Contents
This guide walks through how to calculate your Zone 2 range, how to set up and use a heart rate monitor (chest strap or wrist-based) to stay in it, and the mistakes that push most people out of the zone without realizing it.
Quick Answer
Zone 2 is roughly 60–70% of your estimated max heart rate, or the pace at which you can hold a full conversation without gasping for air. To train in it, estimate your max heart rate, calculate that range, set your monitor’s alert to beep when you drift above it, and slow down — even to a walk — whenever it does.
How to Calculate Your Zone 2 Heart Rate Range
Start with an estimate of your maximum heart rate. The simplest formula is 220 minus your age, though it’s a population average and can be off by 10–15 beats for any individual — a lab or field max-effort test is more precise if you have access to one. Once you have a max HR estimate, multiply it by 0.60 and 0.70 to get your Zone 2 range. For example, a 40-year-old with an estimated max HR of 180 would target roughly 108–126 bpm.
A more personalized option is the Heart Rate Reserve (Karvonen) method, which factors in your resting heart rate: subtract resting HR from max HR to get your reserve, take 60–70% of that reserve, then add resting HR back in. This tends to produce a more accurate range for people who are very fit or have an unusually low or high resting heart rate.
Endurance coach Dr. Phil Maffetone’s MAF 180 Formula is a popular alternative used heavily in run/bike training: subtract your age from 180, then adjust — subtract 10 if you’re recovering from illness, injury, or are inconsistent with training; subtract 5 if you’re generally healthy but training less than two years; make no change if you’ve trained consistently for two-plus years with no issues; add 5 if you’ve trained consistently for two-plus years and are still improving. The result is your upper Zone 2 limit — Maffetone recommends training in the roughly 10-beat window below that number.
Whichever formula you use, treat the number as a starting estimate, not a hard scientific fact. If a pace that matches your Zone 2 heart rate feels absurdly easy, or if you can’t get your heart rate that low even walking, adjust the range and retest after a few weeks of consistent training — Zone 2 pace typically speeds up as your aerobic base improves, even though the heart rate stays the same.
Using Your Heart Rate Monitor to Actually Stay Slow
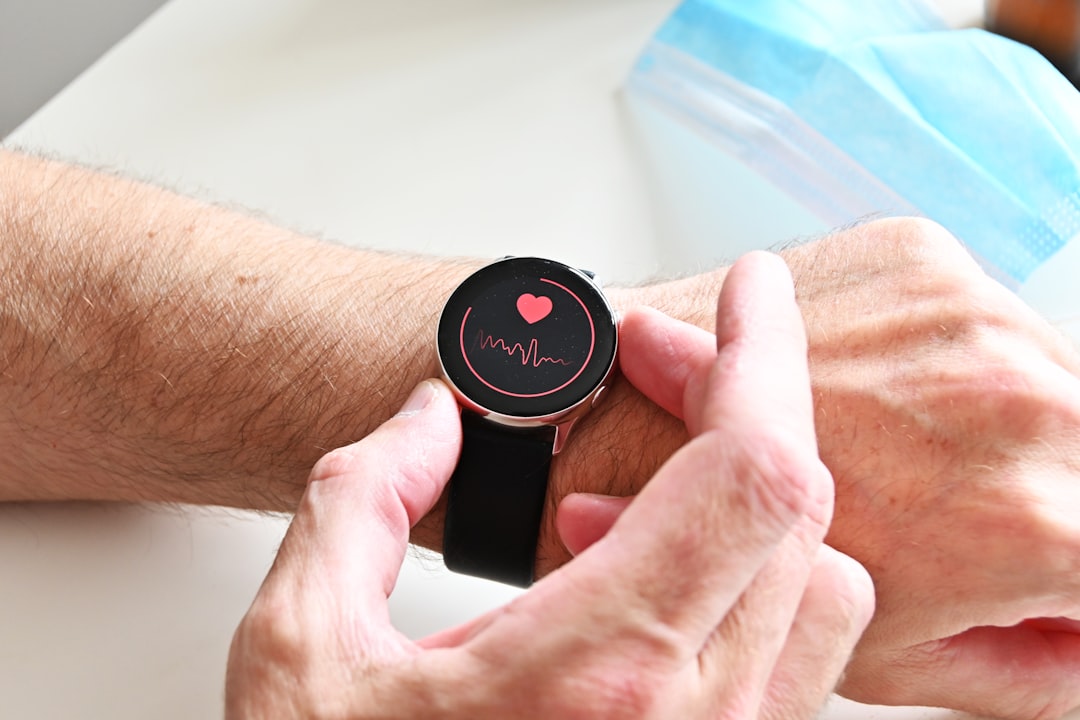
The monitor itself matters. Chest strap monitors read your heart’s electrical signal directly against your skin and are generally the most consistently accurate option, especially when effort or pace changes quickly. Wrist-based optical sensors (built into most smartwatches and fitness trackers) read blood flow through the skin and are usually accurate enough for steady, low-intensity efforts like Zone 2 work, but can lag or drift during pace changes, in cold weather, or if the strap is loose. Since the gap between the top of Zone 2 and the start of Zone 3 is narrow, a monitor that’s off by even a handful of beats can quietly push you out of the zone without you noticing — if your training depends on precision, a chest strap is worth the extra step.
Set up your device before you start moving: enter your Zone 2 range (or your max/resting HR so the watch calculates zones for you) in its settings, and turn on an audible or vibration alert for when you go above the top of the range. Most running and cycling watches, as well as most phone fitness apps, support custom HR zone alerts — check your specific device’s settings menu for “heart rate alert” or “zone alert.”
During the session, expect your heart rate to spike above Zone 2 in the first several minutes regardless of pace — this is normal cardiac lag as your heart catches up to demand. Give yourself a genuine warm-up period before judging your pace against the zone. After that, when the alert goes off, slow down immediately rather than waiting to see if it settles on its own; on hills or in heat, that often means walking, which is a completely normal and expected part of Zone 2 training, not a failure of it.
Pair the number with the talk test as a sanity check: in true Zone 2, you should be able to speak in full sentences without gasping. If your heart rate says Zone 2 but you can’t talk comfortably, suspect a monitor or calibration issue — check strap contact, replace the strap’s electrode pads if it’s an older chest strap, or make sure a wrist unit is snug and positioned two finger-widths above the wrist bone.

Tips and Common Mistakes
The most common mistake is ego pace — running or riding at a pace that feels too slow to count as “real” training. Zone 2’s benefit comes specifically from the low intensity; going faster defeats the purpose even if it feels more like exercise. Expect your Zone 2 pace to be significantly slower than your normal easy pace at first, particularly if you’ve mostly trained at moderate-to-hard effort in the past.
Heat, humidity, poor sleep, dehydration, caffeine, and stress can all push your heart rate up at a given pace on a given day — treat your Zone 2 range as a target to manage around, not a pace you’re locked into. On a hot or rough day, slowing down further (or taking walk breaks) to stay in range is the correct response, not an exception to it.
Recalibrate periodically. Resting heart rate and max heart rate estimates change as fitness, age, and health change, so revisit your zone calculation every few months or after a significant break from training. Also double-check strap placement and battery/contact quality on chest straps regularly — a dying battery or dry electrode contact is a common, easy-to-miss source of inaccurate readings.
Don’t rely on a single session to judge whether Zone 2 is working. The aerobic adaptations it targets — more efficient fat use, a stronger aerobic base, a lower heart rate at a given pace — show up over weeks to months of consistent, mostly-Zone-2 volume, not any one workout.
Explore more: More fitness training guides.
Zone 2 training FAQs
What heart rate is Zone 2?
Roughly 60–70% of your estimated maximum heart rate, or the top of that range if you’re using the MAF 180 Formula. The exact bpm depends on your age, fitness, and resting heart rate, so it’s a personal number rather than a fixed one.
Is Zone 2 training the same as MAF training?
They’re closely related but not identical. Zone 2 usually refers to the 60–70% max-HR zone in a standard 5-zone model, while MAF (Maffetone) training uses its own 180-minus-age formula with health and training adjustments. In practice, both target the same low, conversational aerobic effort.
Do I need a chest strap, or is my smartwatch accurate enough?
For steady Zone 2 efforts, a wrist-based watch is usually accurate enough. A chest strap is worth using if you want tighter precision, train in cold weather, do intervals or hilly terrain where pace changes quickly, or notice your watch’s readings don’t match how hard you feel you’re working.
Why does my heart rate spike even when I’m barely moving?
The first several minutes of any session involve cardiac lag, where heart rate rises before settling into a steady state at a given pace. Heat, dehydration, poor sleep, caffeine, and stress can also elevate it independent of effort — give it time and treat the zone as a moving target on hard days.
How long should a Zone 2 session be?
There’s no single required length, but many endurance athletes and coaches build toward sessions of 45 minutes to well over an hour, since the aerobic adaptations Zone 2 targets tend to accumulate with duration. Start with whatever length you can sustain while staying in range and build up gradually.
Make Your Digital Life Better
More practical tech how-tos, tool picks, and guides to upgrade your everyday digital life. More on GTWebs.
Want web tips in your inbox? Subscribe to the free newsletter.
Photo by Nik on Unsplash.