

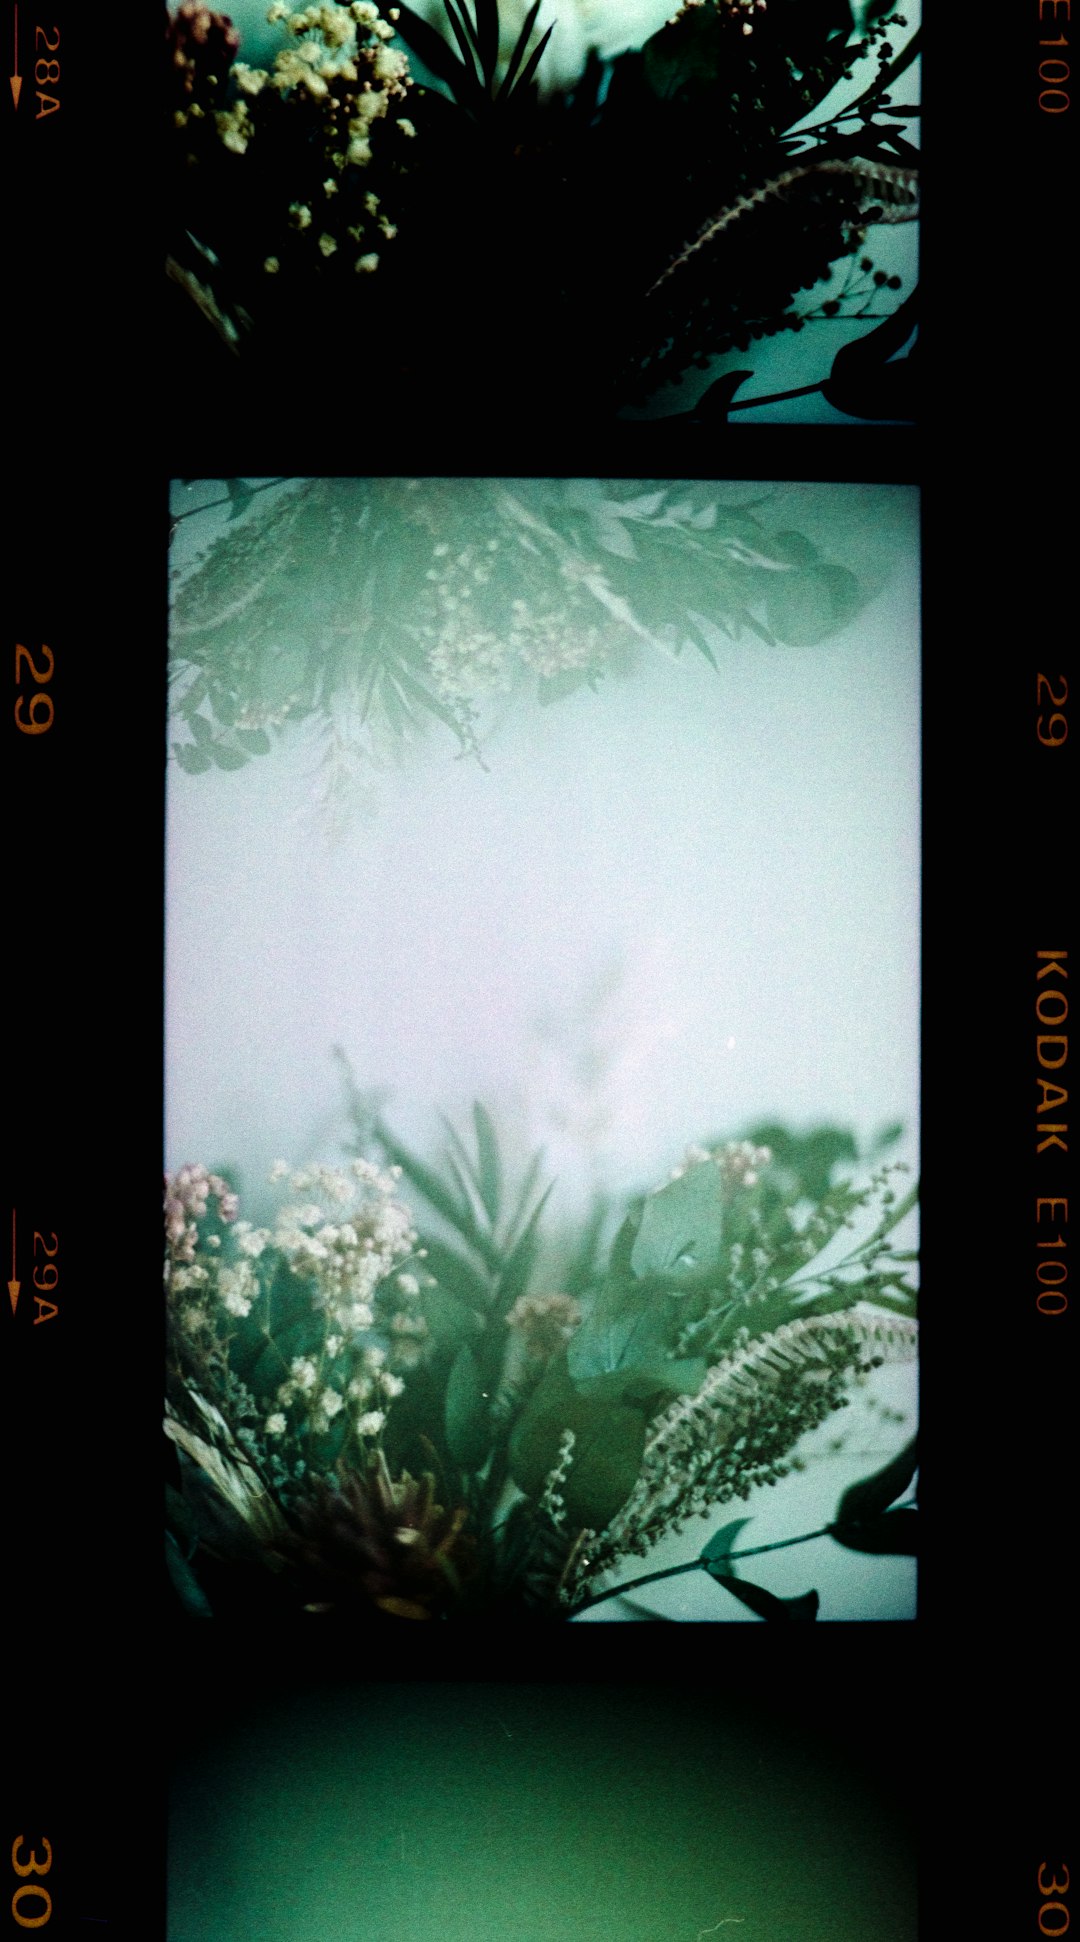
That slightly rough, textured, old-camera look has become one of the most popular photo styles for social posts, moodboards, and brand content — and you don’t need Lightroom or a film camera to get it. Canva can fake a convincing grainy, vintage film look using tools already built into the editor, plus one or two free apps from the Canva Apps marketplace.
Table of Contents
This guide walks through the exact steps: adding a grain/noise texture over your photo, dialing in color with Duotone, finishing with a Vignette, and a couple of quick fixes for when the effect looks too dark or too flat.
Quick Answer
In Canva, upload your photo, then layer a grain or noise texture on top of it (search “grain texture” or “noise texture” in Elements/Photos), lower that texture’s transparency to roughly 10-20%, apply the Duotone filter under Edit photo > Filters for the vintage color tone, and finish with Vignette, which lives under Edit photo > Adjust > Texture. For a faster one-step version, use the free “Noise Image” app from the Canva Apps panel instead of a manual overlay.
Step-by-Step: Adding the Grain Texture
Start by uploading or opening the photo you want to edit in Canva. Click it to select it, then go to the Elements tab (or Photos tab) in the left sidebar and search for “grain texture,” “noise texture,” or “paper texture.” You’ll get a range of black-and-white speckled overlays — pick one that reads as fine grain rather than heavy splatter.
Drag the texture onto your canvas directly above your photo, then resize and reposition it so it fully covers the image. With the texture layer still selected, open the Transparency slider in the top toolbar and bring it down — most designers land somewhere between 5% and 20%, with around 10-15% giving a believable film-grain look without turning the photo muddy.
If the texture disappears or seems to merge into the background when you click away, don’t panic — this is a known quirk where Canva can flatten it into the photo layer. Press Ctrl/Cmd+Z once to undo and restore it as a separate layer, then re-check the transparency.
Prefer a one-click option? Open the Apps panel in the left sidebar and search for “Noise Image,” a free Canva app that lets you upload or select your photo and apply a film-grain noise filter directly, without manually placing a texture layer yourself.
Dialing In the Vintage Color and Vignette
Grain alone reads as “textured,” not necessarily “vintage.” The color treatment does a lot of the work. Select your photo, click Edit photo in the top toolbar, and scroll down through the Filters panel — Duotone sits at the very end of the filter list. Duotone maps your image into two colors; a faded warm tone (amber/cream combined with a dark brown or navy shadow color) is the classic old-film palette. Use the built-in presets first, then tap into the color swatches to nudge the highlight and shadow colors if you want something more custom.
For the vignette, switch to the Adjust tab (still inside Edit photo) and scroll down to the Texture section — Vignette is listed there, not with the filters. Drag the slider or type a number to darken the edges of the photo and pull focus toward the center, mimicking the light falloff you’d see from an old camera lens. A subtle setting is usually enough; pushing it too far starts to look like a dark frame rather than natural falloff.
Because grain textures and Duotone overlays often darken an image, nudge Brightness and Contrast back up slightly within the same Adjust tab so your subject doesn’t get lost. A small Saturation reduction also helps sell the faded-film effect — vintage photos are rarely fully saturated.
Tips / Common Mistakes
Layer order matters: the grain texture needs to sit above the photo (and above any Duotone/filter adjustments) to actually show the speckled texture — if it’s below the photo, you won’t see it at all.
Don’t overdo the transparency. Going above 20-25% on a grain texture usually looks like a scratched screen rather than film grain. Subtle is more convincing than heavy.
If you’re working on a design with multiple photos, group the grain texture with its matching photo before resizing the whole group, so grain scale stays consistent across every image if you reuse the layout.
For video or multi-frame projects, the “Film Camera” app (also in Canva’s Apps panel) bundles grain, vignette, and light-leak effects together, which can save time versus stacking manual layers and adjustments one by one.
Always check how the final export looks at full size — grain that looks perfect zoomed in on the canvas can look either invisible or overly harsh once downsized for social media, so review the downloaded file before publishing.
Explore more: More Canva and design tutorials.
Grainy vintage film effect in Canva FAQs
Is there a built-in “film grain” filter in Canva, or do I need an app?
Canva doesn’t have a single native “film grain” filter; the standard method is layering a grain/noise texture image over your photo and lowering its transparency. For a faster, one-click option, the free “Noise Image” app in Canva’s Apps panel applies grain directly without a manual overlay.
Where is the Vignette option in Canva?
Vignette is under Edit photo > Adjust > Texture, not in the Filters list. Select your photo, open Edit photo, switch to the Adjust tab, and scroll down to Texture to find the Vignette slider.
What transparency level looks most realistic for grain?
Most designers find roughly 10-20% transparency on the grain texture layer gives a believable film-grain look. Lower (around 5-10%) is best for subtle texture on portraits; higher settings suit bold, retro-poster styles.
Why did my grain texture disappear after I clicked away from it?
This happens when Canva flattens the texture into the photo layer beneath it. Undo with Ctrl/Cmd+Z to restore the texture as its own layer, then reapply the transparency adjustment.
Do I need a paid Canva plan to do this?
No — the Elements/Photos texture search, Filters (including Duotone), the Adjust tab (including Vignette), and the Noise Image app are all available on Canva’s free plan.
Make Your Digital Life Better
More practical tech how-tos, tool picks, and guides to upgrade your everyday digital life. More on GTWebs.
Want web tips in your inbox? Subscribe to the free newsletter.
Photo by Annie Spratt on Unsplash.