

You don’t need a tracking mount, a star-tracker, or a telescope to capture the Milky Way — a basic DSLR, a wide-angle lens, and a sturdy tripod are enough to get a real shot of the galactic core on a clear, dark night.
Table of Contents
This guide walks through the exact camera settings, timing, and focusing technique that make the difference between a black frame and a usable Milky Way photo, plus the mistakes that trip up most beginners.
Quick Answer
Set your DSLR to manual mode with the widest aperture your lens allows (f/2.8 or wider is ideal), ISO between 1600 and 6400, and a shutter speed of roughly 10-25 seconds depending on focal length. Shoot during a new moon, away from city lights, focused manually to infinity on a bright star, using a tripod and either a 2-second timer or remote shutter to avoid camera shake.
Gear and Timing You Actually Need
The essential kit is a DSLR that lets you shoot in full manual mode, a wide-angle lens (14-24mm on full-frame, or roughly 10-18mm on a crop-sensor body) with an aperture of f/2.8 or wider, and a stable tripod. A remote shutter release or intervalometer helps, but the camera’s 2-second self-timer works fine if you don’t have one.
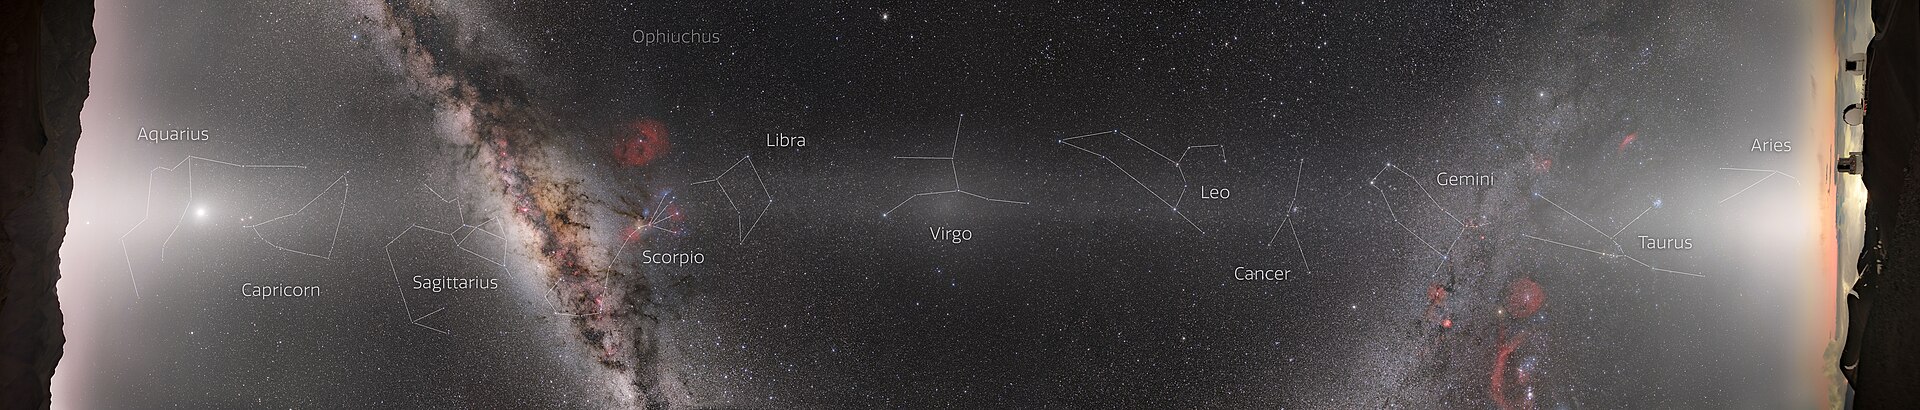
Timing matters as much as gear. In the Northern Hemisphere the Milky Way’s bright core is visible from roughly February through October, with June and July offering the longest, easiest shooting windows since the core rises earlier and sits higher in the sky. Plan around the new moon — even a partial moon washes out the fainter parts of the Milky Way — and get as far from city light pollution as you reasonably can. Free tools like Stellarium, or apps like PhotoPills, show exactly when and where the galactic core will be visible from your location on a given night.
Camera Settings and Focusing
Shoot in Manual mode and save images as RAW so you have room to edit exposure and white balance afterward. Open the aperture as wide as your lens goes (f/2.8, f/1.8, or wider), which lets in the most light in the shortest exposure time.
For shutter speed, the classic starting point is the ‘500 rule’: divide 500 by your lens’s full-frame-equivalent focal length to get a rough maximum exposure time before stars start to trail (500 ÷ 20mm ≈ 25 seconds). It’s a rough guide rather than a precise one, especially on high-megapixel modern sensors, so treat it as a starting point and check your image at 100% zoom on the camera’s screen — if stars look like short streaks rather than points, shorten the exposure a few seconds.
Set ISO between 1600 and 6400 to start, then adjust based on how bright the resulting image looks and how much noise you’re willing to tolerate — lower ISO with a longer exposure produces a cleaner file if your shutter speed budget allows it. Autofocus won’t work in near-total darkness, so switch the lens to manual focus, point at the brightest star or planet you can see, zoom in using the camera’s live view, and turn the focus ring until the point of light is as small and sharp as possible. Tape the focus ring in place once it’s set so it doesn’t shift between shots.
Tips and Common Mistakes
Turn off image stabilization when the camera is on a tripod — on some lenses it can actually introduce blur during long exposures. Use the 2-second timer or a remote release instead of pressing the shutter button by hand, since even that small a nudge can soften a 15-20 second exposure.
Don’t shoot too close to sunset or sunrise — wait for full astronomical darkness, usually around 90 minutes after sunset, or the sky glow will wash out fainter stars. A common beginner mistake is chasing a narrow aperture for a ‘sharper’ shot; in near-darkness you need every bit of light the lens can gather, so shoot wide open even if that means the corners of the frame are a touch softer.
Bring a headlamp with a red-light mode to preserve your night vision and read camera settings, and dress for temperatures colder than you’d expect since you’ll likely be standing still for a while. Finally, shoot a few test frames early and chimp the histogram and a zoomed-in preview rather than waiting until you get home to discover the focus was off.
Explore more: more space and astrophotography guides.
Milky Way photography with a DSLR FAQs
Can I photograph the Milky Way with a kit lens?
Yes, though results improve with a wider maximum aperture. A typical f/3.5-5.6 kit lens will work if you push the ISO higher and lengthen the exposure slightly, but a dedicated f/2.8 or faster wide-angle lens gathers noticeably more light and detail.
Do I need a star tracker to photograph the Milky Way?
No. A tripod alone lets you capture solid single-frame shots of the Milky Way; a star tracker is only needed if you want longer exposures without star trailing or plan to stack many frames for extra detail.
Why does my Milky Way photo look black or empty?
The most common causes are shooting too close to a full moon or city lights, an exposure that’s too short or an aperture that’s too narrow, or focus that isn’t precisely set to infinity — even a slightly soft focus can make the faint core disappear.
What’s the best time of year to see the Milky Way’s core?
In the Northern Hemisphere, the galactic core is visible roughly from February through October, with June and July giving the longest and most convenient shooting windows.
Make Your Digital Life Better
More practical tech how-tos, tool picks, and guides to upgrade your everyday digital life. More on GTWebs.
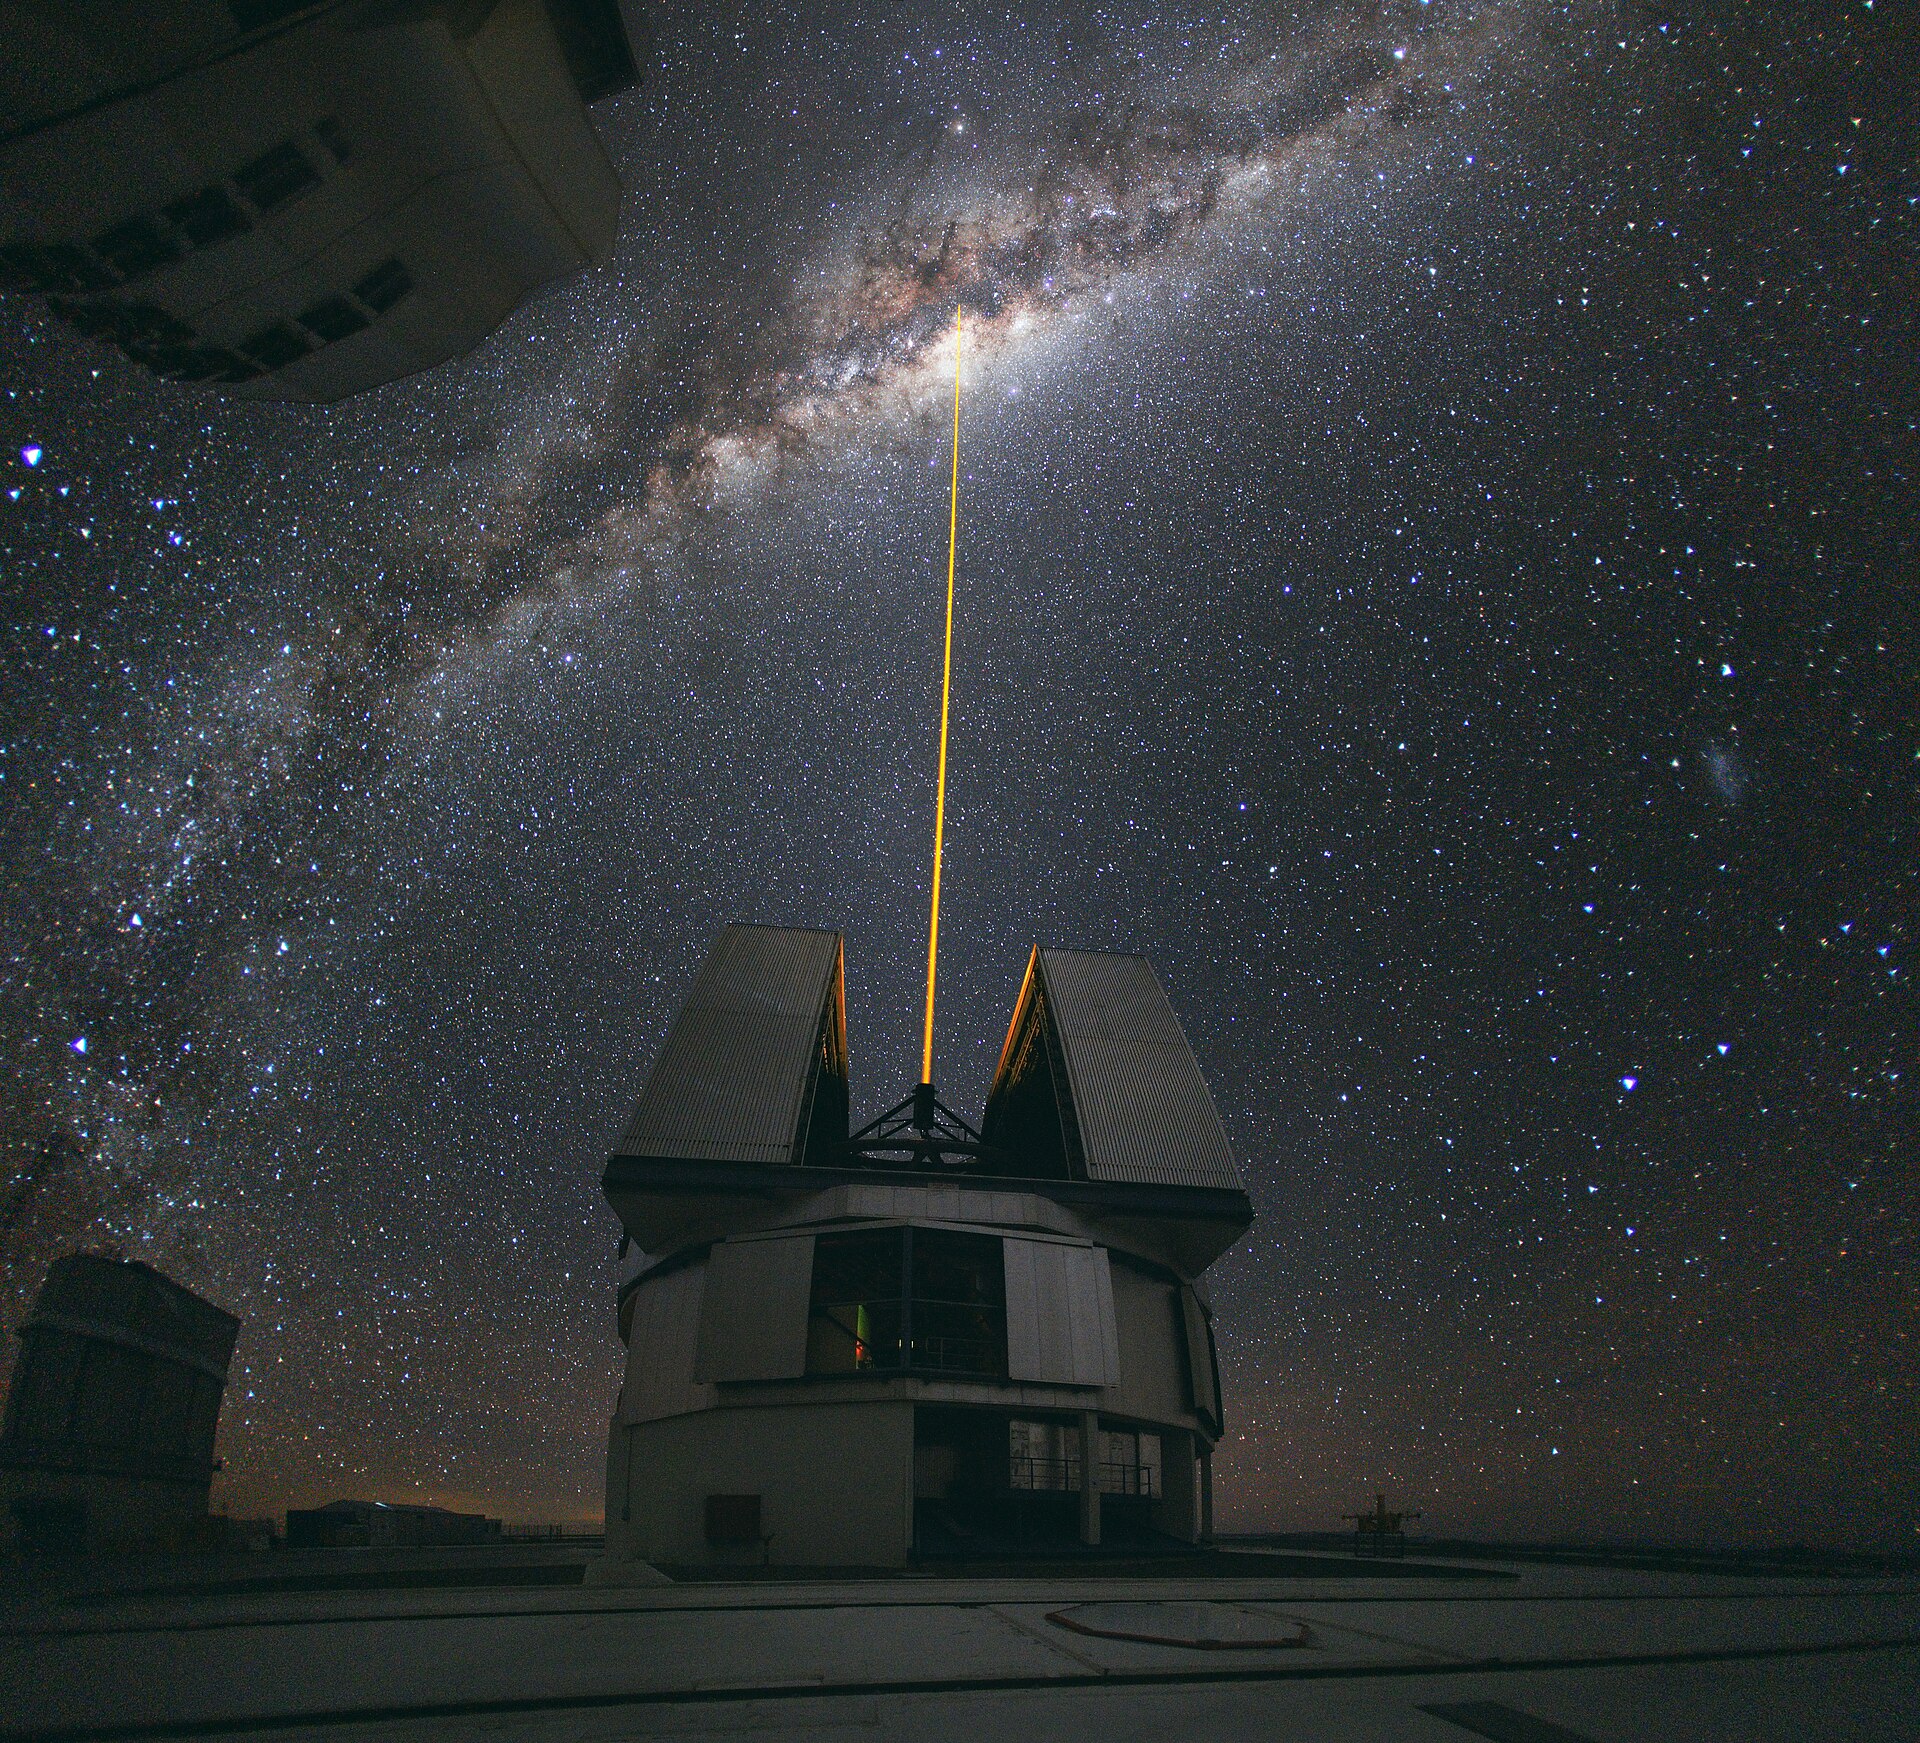
Photo: NOIRLab/NSF/AURA/ P. Horálek (Institute of Physics in Opava), T. Slovinský / CC BY 4.0, via Wikimedia Commons.